Amethyst Bra Sewalong ~ Part 1, Getting Started
Share
As soon as my mom saw the Limited Edition Kit for December she fell in love with it and with her birthday following hot on the heels of Christmas I thought it the perfect opportunity to make my mom a bra (and blog about the process!)

We chose the Amethyst Pattern by Pin Up Girls; it's a similar style to the bras that my mom prefers and it can be made with foam as well.

Measuring:
The Amethyst bra requires two measurements. An underbust measurement, taken quite firmly and the BCD (base cup depth.) The BCD is a measurement from the apex of the breast (most rounded/pointy part) vertically downwards to where the wire would sit, making sure not to squash any breast tissue.
The BCD is an important measurement as all but one of the pattern pieces are chosen based on this measurement. This method doesn't work for everyone (from reading people's comments) but I like how it is straight forward and doesn't rely on combining and calculating other measurements to derive your size.
The only piece that isn't based on the BCD is the back wing/band piece which is based on your underbust measurement instead.
My mom's underbust measured 30.5 inches but she asked me to try the 32 band as she doesn't like tight or restrictive clothing. If this turns out too big then it will be easy enough to swap back to a 30 band or modify it to be somewhere in between.
Underwires:
The recommended underwire size for the bra size we are making is a 34. We tried this against my mom and it looked to fit really well. We can test this out later on in the muslin/toile stage.
Pattern Pieces:
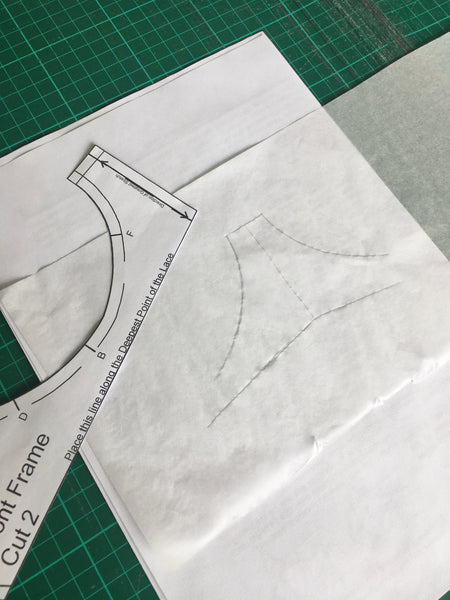
There are quite a few pattern pieces between the fabric and the foam layers so in order not to make any mistakes, I highlighted the edges where I was to cut (I still managed to make mistakes highlighting! Thankfully I noticed them before cutting the pattern out.)

Some of the notations are also outside of the pattern pieces so I made sure to write these in to keep everything clear.

Test the Bridge:
I always start a new pattern by testing the fit of the bridge. In some patterns this is a separate piece; in the Amethyst pattern it is all part of the band. I traced just the bridge portion (flipping it over to get the mirror image) without the seam allowances, leaving me with a tracing of the bridge in the finished size as it would sit on the body.

I transferred this onto cardboard and cut it out. My mom could then hold this up to herself to check that the size and width was correct for her breast spacing. It was. But if it wasn't then this is an easy fix of either 'slash and spread', (bridge too narrow) 'slash and overlap' (bridge too wide) or you can cut most of the way to leave a pivot point at top or bottom so you can insert or overlap a wedge to make either the top or bottom more wide or more narrow. Transfer those changes to your pattern piece.

Starting a Fitting Band:
I'm not going to cut directly into the lovely December kit without making sure the bra is going to fit first! So I'll be making a fitting band (muslin/toile.)
You need to muslin with a similar fabric to what your final bra will be in. So since my Amethyst will be stabilised with a lining then my muslin fabric needs to be stable too. In this case I'm using a duoplex scrap. You need to use the stretchy powernet for the back band as this will make it true to fit.

Here are my test pieces all cut and ready to sew. Join me for Part Two of the Amethyst Sewalong - coming soon!
